A practical guide from Sketchso
Prepare a Dog Portrait Outline That Keeps the Likeness
A recognizable dog portrait begins with the relationships between the eyes, muzzle, ears and head shape. Fur is important later, but an outline crowded with individual hairs can make those relationships harder to see.
Choose a reference you can actually read
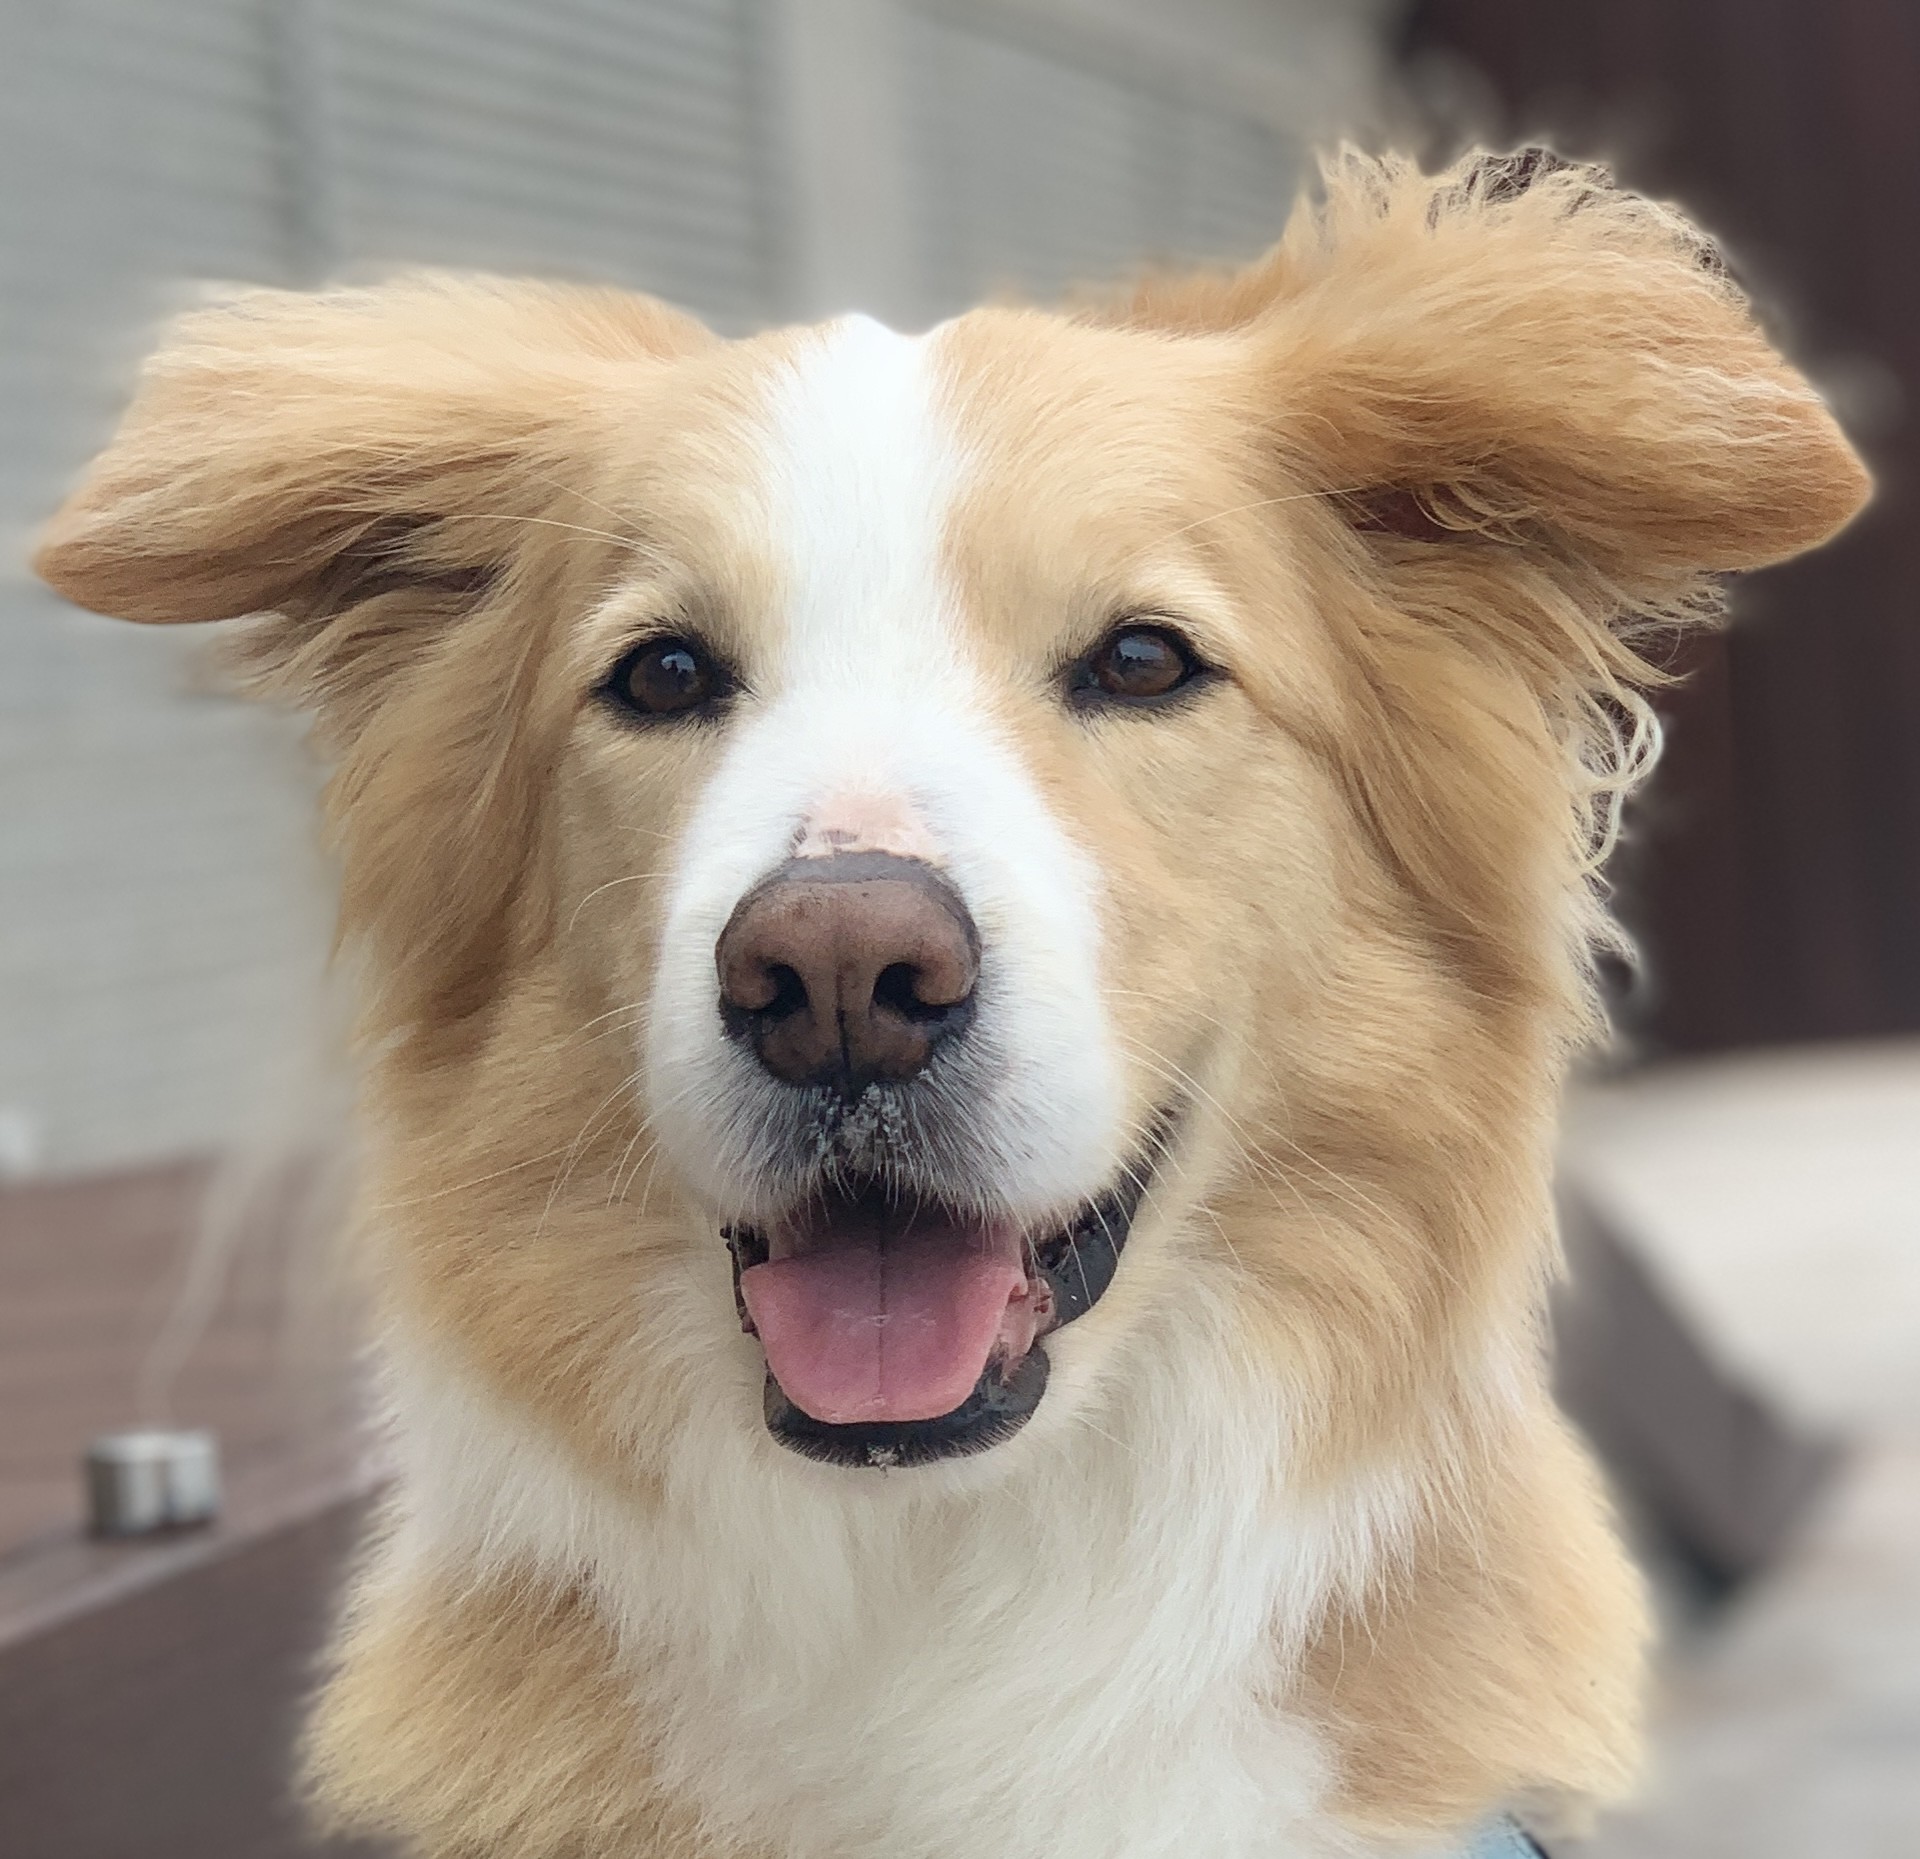
Look for visible eye shapes, a clear nose and enough separation between the head and background. A photo taken close to the nose can exaggerate the muzzle. That may be part of the character you want, but do not confuse it with neutral proportions.
For a memorial portrait, you may only have a small or faded photograph. Preview it before committing to the project. Identify which features are clear and which are uncertain. A converter cannot reliably reconstruct missing detail; another photo can help you understand the dog, but it may have a different pose or perspective.
Establish the landmarks before the fur
Compare the distance between the eyes with the width of the head. Check the nose’s position relative to the eyes and the angle of the muzzle. Notice whether one ear sits higher or turns away. These relationships often contribute more to recognition than the amount of detail in the coat.
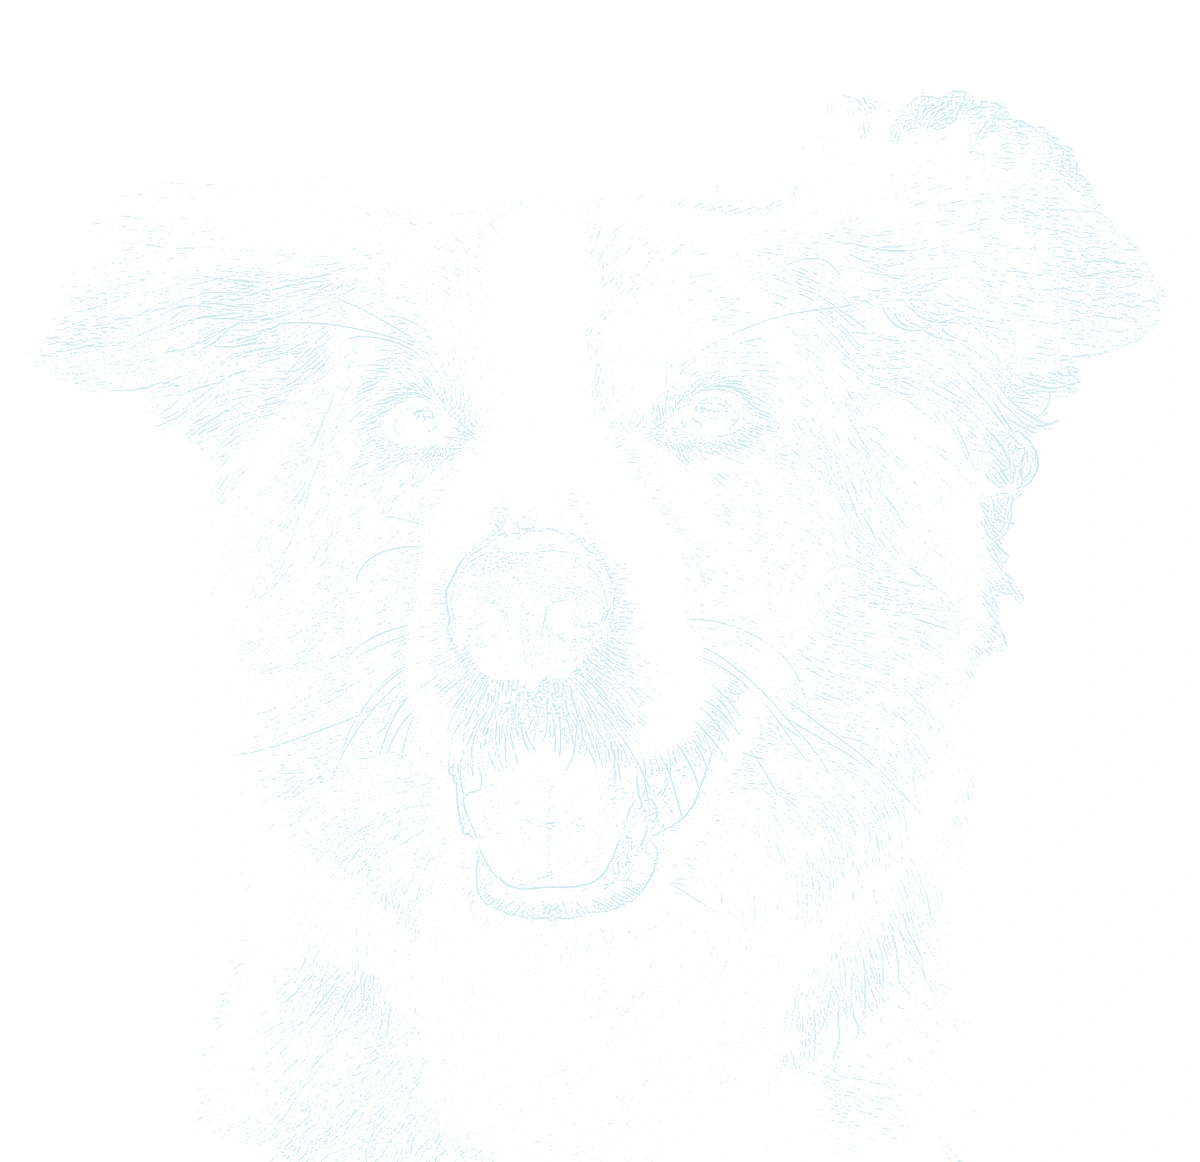
Choose Balanced as a starting point, then compare Simple and Detailed. If Simple loses the eyes, use the more informative version and erase unnecessary texture. Do not automatically accept every detected dark edge as an anatomical boundary. A patch of dark fur is not the same thing as the edge of the cheek.
Simplify the coat by following groups
For long fur, keep the large clumps around the cheeks, chest and ears. For short fur, the outside silhouette and changes in value may be enough. Leave space to build individual hairs with pencil or brushwork during the actual portrait.
When erasing background distractions, work near the head contour in short strokes. Undo immediately if you lose a whisker pad, ear edge or distinctive tuft. Compare with the photograph after cleanup, not just with the previous outline. A clean result is useful only if it retains the subject’s structure.
Prepare the guide for your medium
For pencil, transfer lightly so your later drawing can establish the darkest edges. For watercolor, avoid guide lines in white highlights and test your transfer marks under a pale wash. Printed blue lines are not guaranteed to disappear. For opaque painting, retain enough visibility to place the forms without creating heavy construction marks.
Keep the original photograph beside the outline. The outline is a placement aid; it does not describe the depth of the eye socket, reflected light on the nose or subtle warm and cool colors in the coat. Plan those decisions from the reference and your own studies.
Check size and likeness one last time
Set the artwork area, preserve the photo’s proportions and print at actual size. If the guide is tiled, assemble it before transferring and inspect any join that crosses an eye or muzzle. Measure the scale square before using the final surface.
Look at the transferred head from arm’s length. Compare the major angles and spaces again before adding detail. If the likeness feels wrong, return to the landmarks rather than trying to disguise the problem with more fur. Correcting a feature at this stage is easier than working around it throughout the portrait.
Questions before you start
Does the Pet preset recognize individual facial features?
No. It supplies starting settings for an edge-based outline. You decide whether the eyes, muzzle and coat shapes are useful and accurate enough for your project.
Can I use a client’s pet photo?
Use references you own or have permission to use. Agree on the pose and crop before preparing a commission so the guide reflects the composition the client expects.