Convert Photo to Drawing
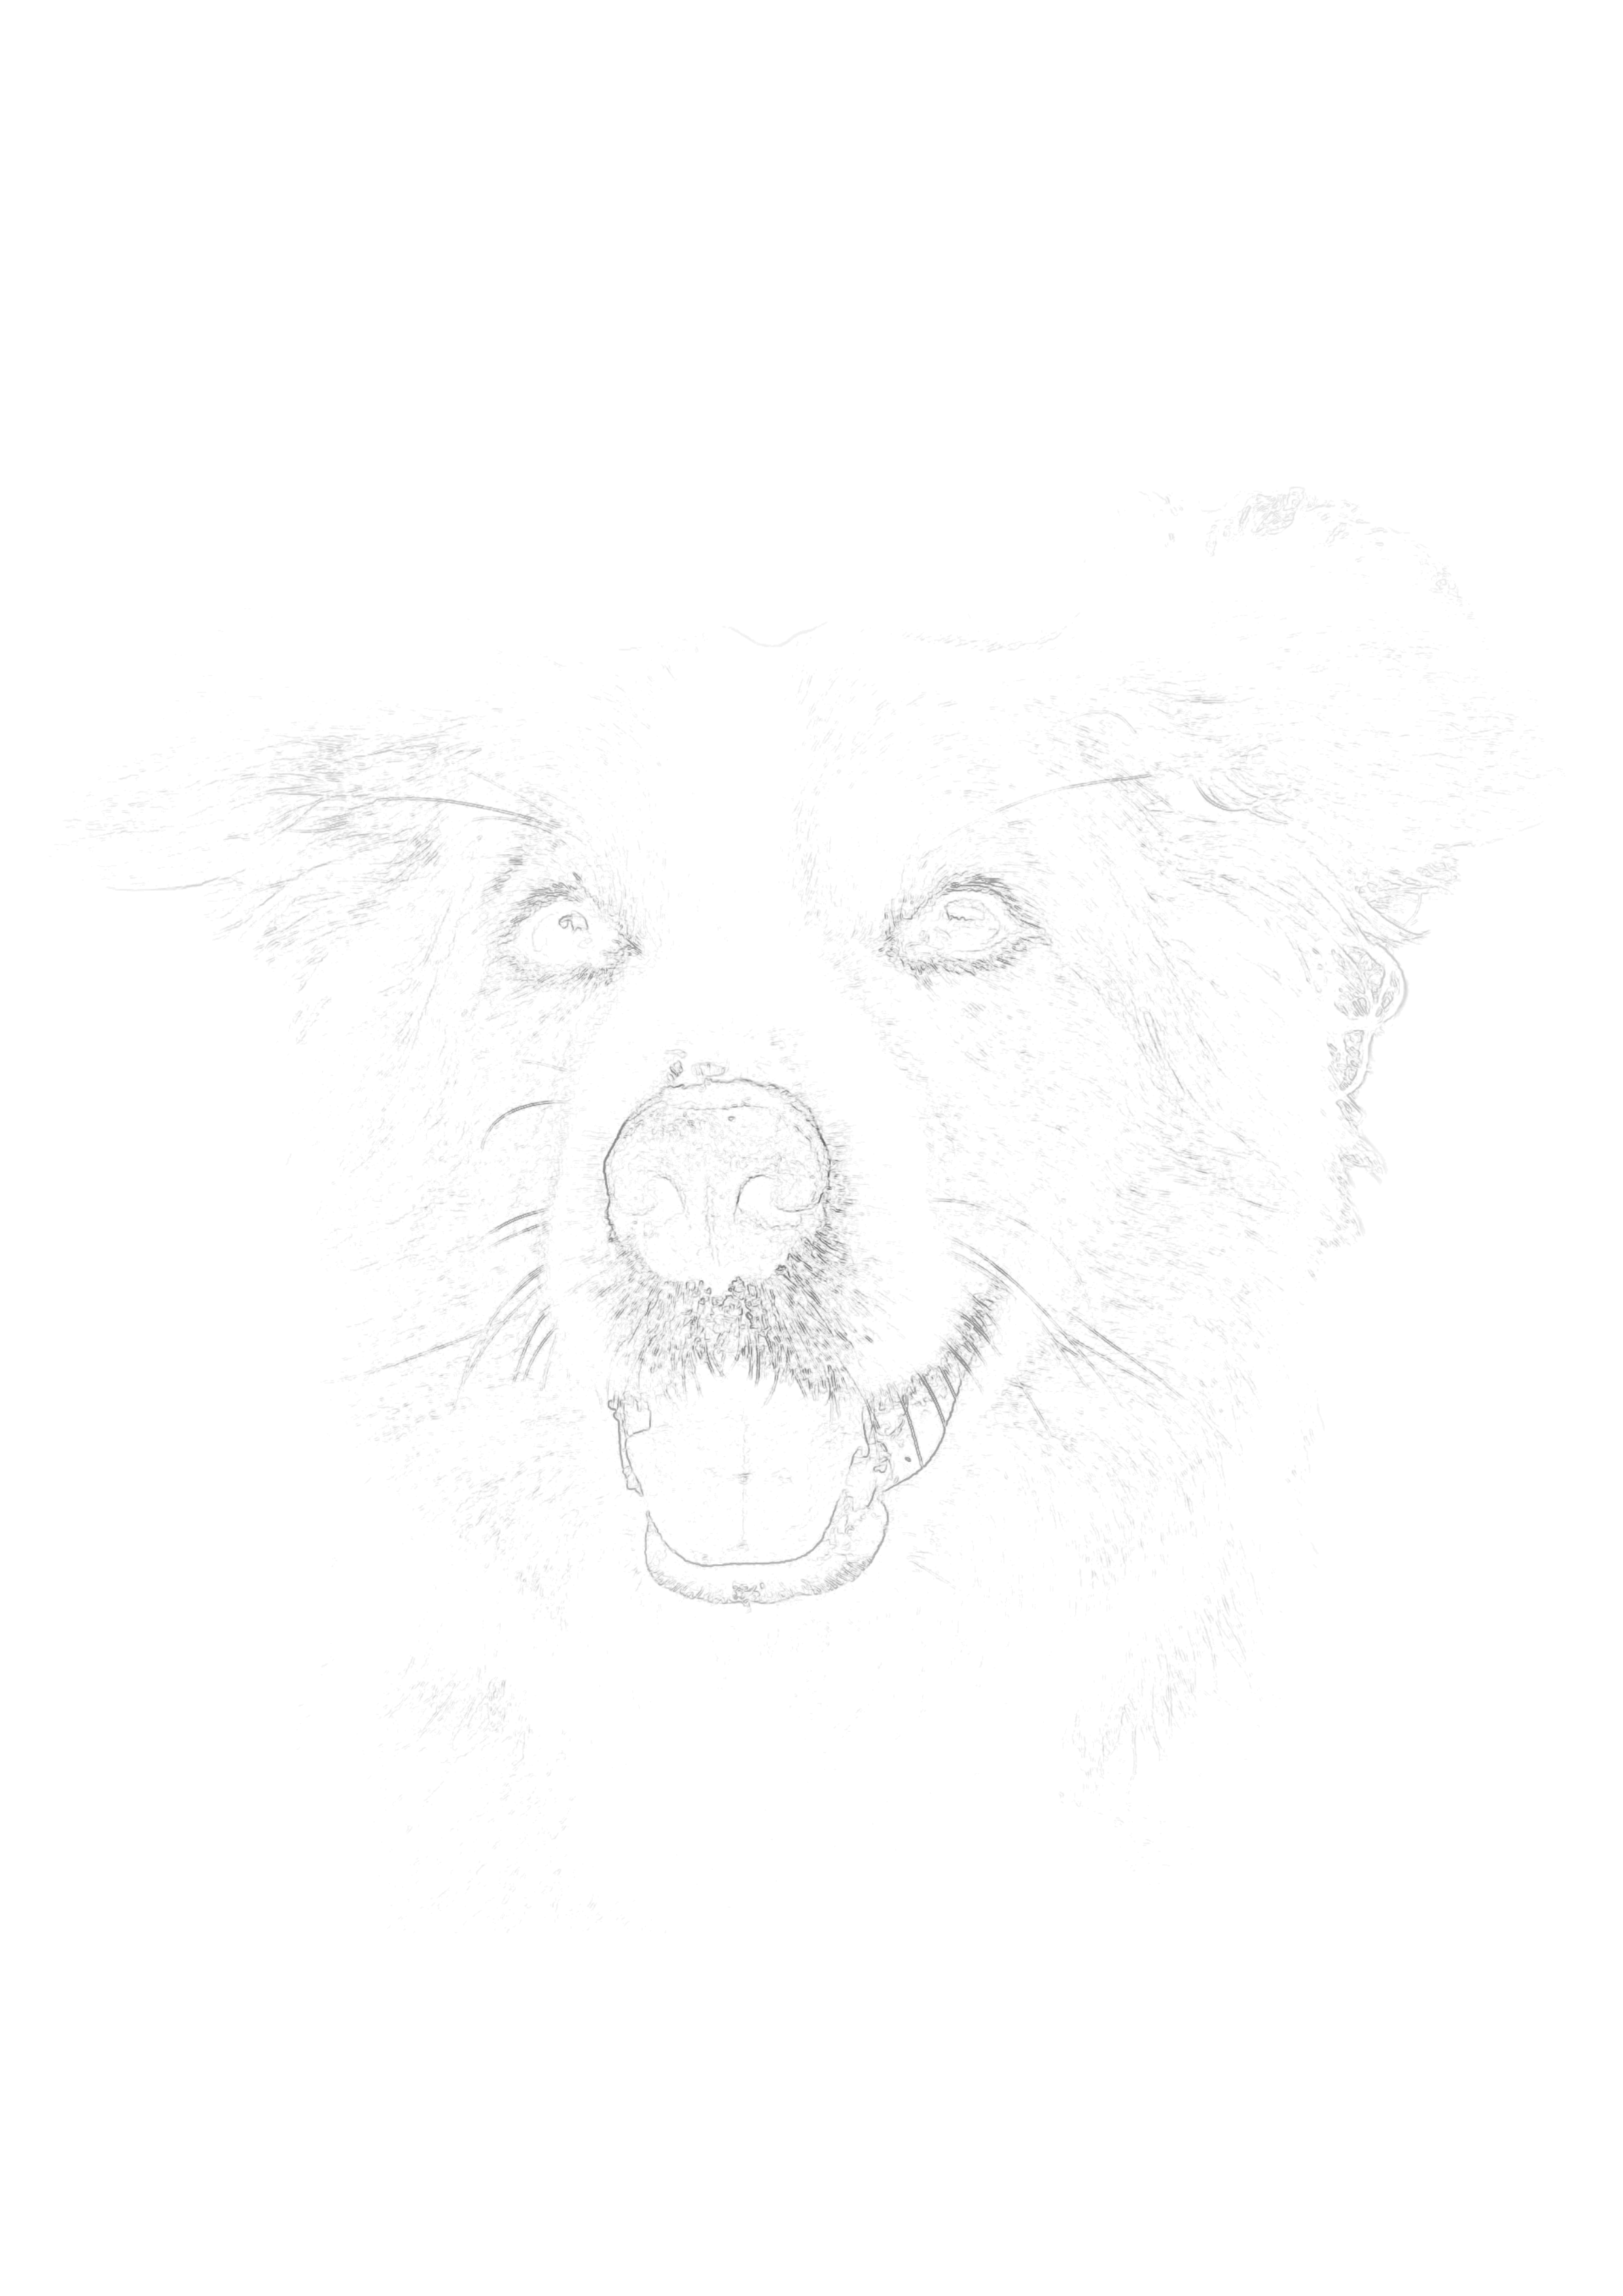
Generate the perfect structural foundation for your pencil drawings. Our converter creates ultra-light, printable outlines that vanish seamlessly under graphite and charcoal shading.
Drop your photo here to start
JPG, PNG or WebP — drag in or click to browse
Perfect for graphite
Disappears under shading
Print on drawing paper
No grid lines to erase
How do I convert a photo to a pencil drawing?
Instead of applying a fake digital filter, the best way is to generate a structural outline using Sketchso, print it on drawing paper, and manually shade it with real pencils. Upload your photo, adjust the slider to capture the main edges, and print the resulting outline at 15% opacity. The printed lines will act as a perfect proportional guide and will completely disappear as you apply graphite shading.
Step-by-Step Process:
- 1Upload your photo to the converter
- 2Generate a light structural outline
- 3Print directly onto Bristol board or drawing paper
- 4Use graphite or charcoal pencils to shade over the guide
Selecting the Right Pencils for Your Drawing
A great photo to drawing converter gives you the perfect proportional foundation, but the magic of the final piece lies in your rendering. Using the right graphite pencils is crucial for achieving depth, contrast, and realism in your drawings.
Understanding the HB Scale
Graphite pencils are graded on a scale of Hardness (H) to Blackness (B). 'H' pencils contain more clay, making them harder and producing very light, sharp lines. 'B' pencils contain more graphite, making them softer and producing dark, rich, smudgy lines. The standard yellow school pencil is an HB, sitting right in the middle.
Building Your Toolkit
You don't need a massive set of 24 pencils to create a masterpiece. Most professional artists rely on just three or four key grades. You will need a 2H or 4H for sketching light guidelines and doing initial, faint shading (like smooth skin tones). You need an HB or 2B for mid-tones and defining general shapes. Finally, you must have a 4B, 6B, or 8B to push your darkest darks—the pupils of the eyes, the deep shadows under the chin, or dark hair.
How to Shade Over a Printed Outline
When you use Sketchso to turn your photo into a printable drawing guide, you skip the frustrating part of measuring proportions. Once your guide is printed on your drawing paper, here is how you should approach the shading process to make the drawing look incredibly realistic.
Start with the Darks
Many beginners are afraid of going too dark, resulting in flat, washed-out drawings. The best technique is to establish your darkest values immediately. Using your 4B or 6B pencil, shade in the pupils, the nostrils, and the deepest shadows in the reference photo. Establishing this "anchor" of darkness allows you to properly gauge all the lighter mid-tones.
Layering and Blending
Never press down hard to get a dark value; this damages the tooth of the paper and creates an unblendable, shiny patch of graphite. Instead, build your values in light, overlapping layers. Hold your pencil further back on the barrel and use the side of the lead to shade in broad, smooth strokes. Once a layer is down, use a blending stump (tortillon) or a piece of tissue paper to gently blend the graphite into the paper, creating buttery smooth transitions.
Pro Tips: Avoiding Smudges and Keeping Your Drawing Clean
Graphite and charcoal are notoriously messy mediums. Nothing ruins a beautiful 10-hour portrait drawing faster than accidentally smearing a dark patch of graphite across a perfectly rendered, highlighted cheekbone. Here is how professionals keep their drawings pristine.
First, use a "slip sheet." Take a clean piece of printer paper and rest your drawing hand on it at all times. This prevents the oils and sweat from your hand from sinking into the drawing paper (which resists graphite and ruins shading), and it physically blocks your hand from dragging across areas you've already drawn.
Second, be strategic about your drawing direction. If you are right-handed, you should generally start drawing in the top left corner of the paper and work your way down to the bottom right. If you are left-handed, start in the top right and work towards the bottom left. This naturally keeps your hand trailing over the blank, un-drawn portions of the paper.
Photo to Drawing Converter — FAQ
How do I convert a photo to a pencil drawing?
Instead of applying a fake digital filter, the best way is to generate a structural outline using Sketchso, print it on drawing paper, and manually shade it with real pencils. Upload your photo, adjust the slider to capture the main edges, and print the resulting outline at 15% opacity. The printed lines will act as a perfect proportional guide and will completely disappear as you apply graphite shading.
Step-by-Step Process:
- 1Upload your photo to the converter
- 2Generate a light structural outline
- 3Print directly onto Bristol board or drawing paper
- 4Use graphite or charcoal pencils to shade over the guide
What is the best photo to drawing converter?
Sketchso is considered the best tool for physical artists because it doesn't just apply a fake digital pencil filter. It creates a structural tracing outline that you can print on real drawing paper, providing the perfect proportional foundation for your own graphite or charcoal shading.
Can I print the drawing guide on regular printer paper?
You can, but it is not recommended if you want to create a high-quality drawing. Regular printer paper is very thin and lacks 'tooth' (texture). It cannot hold multiple layers of graphite and will tear easily if you erase. We highly recommend trimming Bristol board or heavy sketch paper to fit your printer and printing the guide directly on that.
Will the printer ink smear when I blend my pencil drawing?
If you are using a standard inkjet or laser printer, the ink dries almost instantly and will not smear when you rub over it with a blending stump or tissue. Furthermore, if you print the outline at a very low opacity (10-15%), there is barely any ink on the paper to begin with.
How do I keep my pencil drawing from smudging when I'm finished?
When your drawing is complete, you must 'fix' the graphite to the paper. Buy a can of workable fixative spray from an art store. Take your drawing outside to a well-ventilated area, and spray a light, even coat over the artwork. This binds the loose graphite dust to the paper.
Does this tool work well for charcoal drawings?
Yes. Charcoal requires even looser, bolder outlines than graphite. You can adjust the sensitivity slider in Sketchso to remove minor details, leaving only the boldest structural lines. Print this out, and use vine or compressed charcoal to build massive, dramatic contrast over the guide.
Explore the next best page for this workflow
Transform photos into hand-drawn style references for pencil, charcoal, and ink.
Related tool pages
Turn Photo Into Drawing
A dedicated tool to convert your photos into pencil-style art.
Convert Photo to Line Drawing
Generate clean outlines suited to stencils and coloring pages.
Photo to Sketch Converter
A versatile sketch converter with customizable sensitivity.
Guides that support this intent
Ultimate Drawing Guide
Step-by-step drawing lessons and guides for all skill levels.
How to Draw Portraits from Photos
Capture accurate features and proportions in portrait art.
How to Draw from Reference Photos
A practical method to translate photo references into drawings.
Start Your Next Drawing
Generate the perfect invisible outline for graphite, charcoal, or colored pencil.
Drop your photo here to start
JPG, PNG or WebP — drag in or click to browse